
Hey! Listen! This post is part of a series on my journey into K3s. Check them all out!
| Date | URL | Part |
|---|---|---|
| 2022-12-07 | K3s cluster updates | Updates to the cluster build |
| 2022-03-29 | Kubernetes GUIs | Exploring Kubernetes GUIs |
| 2022-03-11 | K3s single-node cluster for noobs | Deploying K3s |
Introduction
In my last post, I setup a K3s single-node cluster and an example application. While everything was done through the command-line, as a noob, it’s nice to have a graphical user interface (GUI) of some kind. I’m not a fan of ClickOps, but it’s convenient to have a GUI to be able to quickly view status, instead of hunting for the right kubectl command.
⚠️ WARNING ⚠️
- I am not a Kubernetes expert!
- This is solely for my own learning. If you get something useful out of my ramblings, that’s great, but it’s not my primary goal.
- Nothing I setup here should be considered production-ready or secure.
Comparison
There are a ton of k8s GUIs, but I’m going to be covering what I’ve found to be the easiest to setup and use.
| Product | Language | Type | Source model | Comments |
|---|---|---|---|---|
| Kubernetes Dashboard | Go/Typescript | GUI | Open source | Browser-based |
| Lens | Typescript | GUI | Open source | |
| Octant | Go/Typescript | GUI | Open source | Browser-based |
| Infra App | ??? | GUI | Closed source | |
| Kubenav | Go/Typescript | GUI | Open source | Has mobile apps |
| K9s | Go | TUI | Open source |
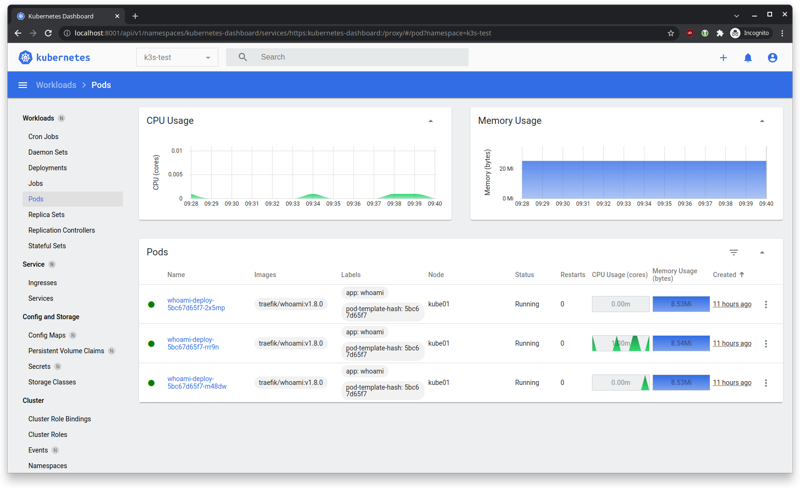
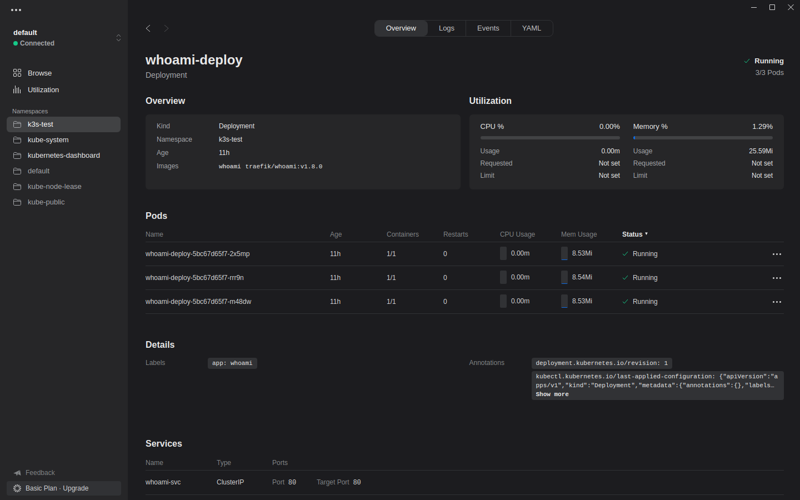
Kubernetes Dashboard
Because K3s is upstream k8s (with some bits stripped out), we can setup the official k8s web dashboard.
First, we need to apply the dashboard manifest to the cluster by running the command below on our personal machine (again, kubectl on our personal machine connects to the cluster).
kubectl apply -f https://raw.githubusercontent.com/kubernetes/dashboard/v2.5.1/aio/deploy/recommended.yaml
Next, we need to create a user and role to login to the dashboard. I recommend storing all of your manifests in a directory for easy management and version control. You can copy/paste the commands below to create the directory and the manifest.
mkdir -p ~/k8s/dashboard
cat << EOF > ~/k8s/dashboard/admin.yml
---
apiVersion: v1
kind: ServiceAccount
metadata:
  name: admin-user
  namespace: kubernetes-dashboard
---
apiVersion: rbac.authorization.k8s.io/v1
kind: ClusterRoleBinding
metadata:
  name: admin-user
roleRef:
  apiGroup: rbac.authorization.k8s.io
  kind: ClusterRole
  name: cluster-admin
subjects:
- kind: ServiceAccount
  name: admin-user
  namespace: kubernetes-dashboard
EOF
Now, apply the manifest and get your token.
kubectl apply -f ~/k8s/dashboard/admin.yml
kubectl -n kubernetes-dashboard describe secret admin-user-token | grep '^token' | awk '{print $2}'
By default, the web dashboard is only accessible from within the cluster, which isn’t particularly useful because we’re on a separate machine. We need to open a second terminal on our personal machine and run kubectl proxy, which will open a proxy to the K3s cluster. With kubectl proxy still running in the background, click on the link below.
You’ll be prompted to enter your token.
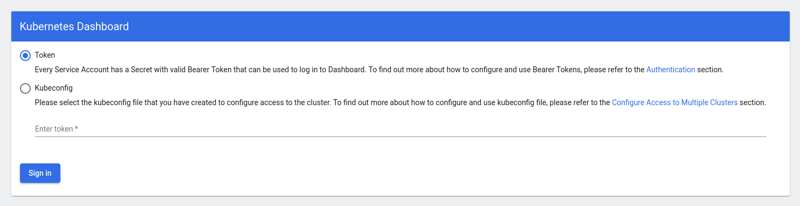
Finally, you’ll see the dashboard. Click around to explore your setup.
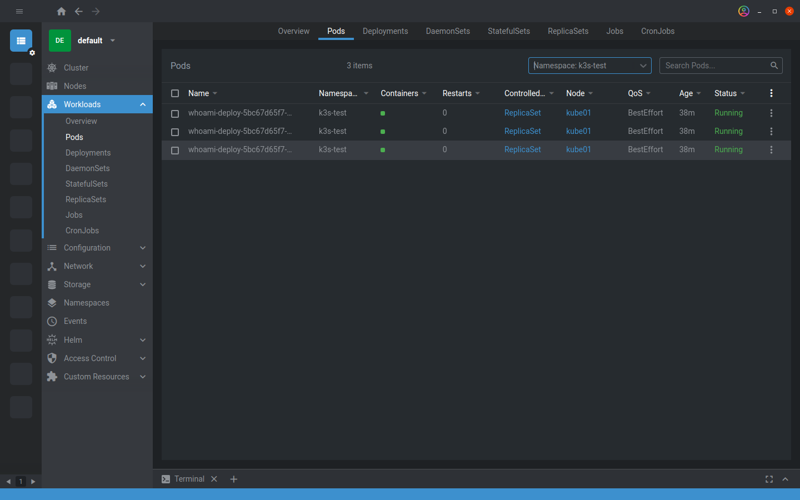
Lens
Lens is probably the next-most popular k8s GUI. It is made by Mirantis, the same people who make k0s and who recently purchased Docker Enterprise. It is open source, but also offers a paid cloud service called Lens Spaces.
Lens is Electron-based, which means it’s available for a ton of platforms, but it’s also Electron-based, so there’s that slow memory leak to look forward to. 🤷♂️
See the installation instructions here. I’m using Arch, btw, so I’m using the version from the AUR.
yay -s lens-bin
Lens reads your ~/.kube/config file, so no setup or proxy is required.
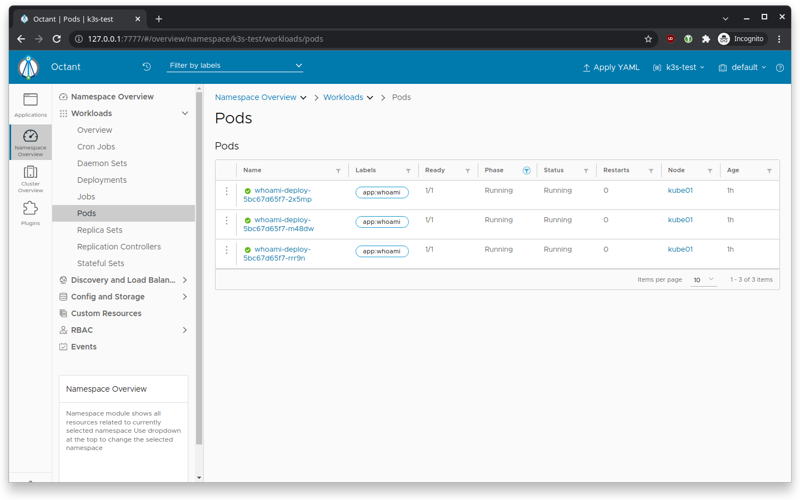
Octant
Octant is made by the good folks at VMware, as part of their Tanzu portfolio of cloud/DevOps products. It is open source and written in Go.
Installation instructions are here, but it’s available via the AUR.
yay -s octant-bin
Octant reads your ~/.kube/config file and will open a proxy to 127.0.0.1:7777 in your default web browser.
Infra App
Infra App is certainly beautiful to look at, but it appears to be closed source. For free, you can connect to one cluster. The paid plan offers unlimited clusters, but is a subscription at $100/yr.
Infra App reads your ~/.kube/config file, so no setup or proxy is required.
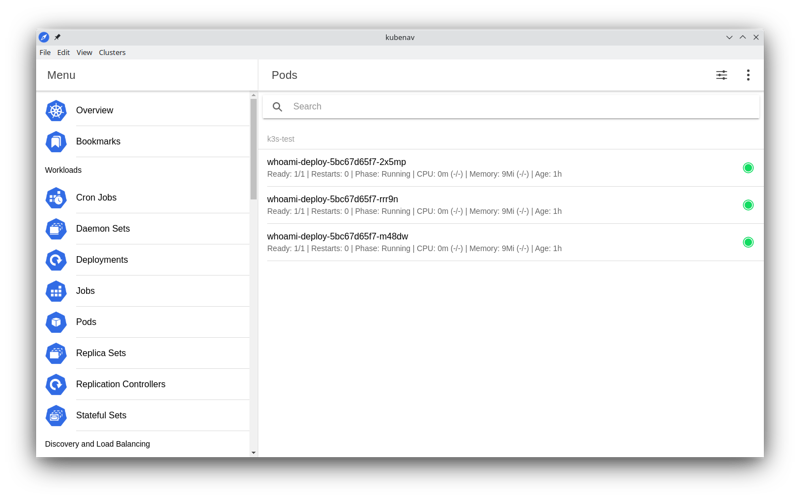
Kubenav
Kubenav is a stand-alone project that is open source and written in Typescript. It also appears to be Electron-based, but its claim to fame is that it offers mobile apps for iOS and Android (since it’s basically a website in a wrapper).
The version in the AUR was out of date (shock!), so I downloaded the binary from the releases page.
Kubenav reads your ~/.kube/config file, so no setup or proxy is required.
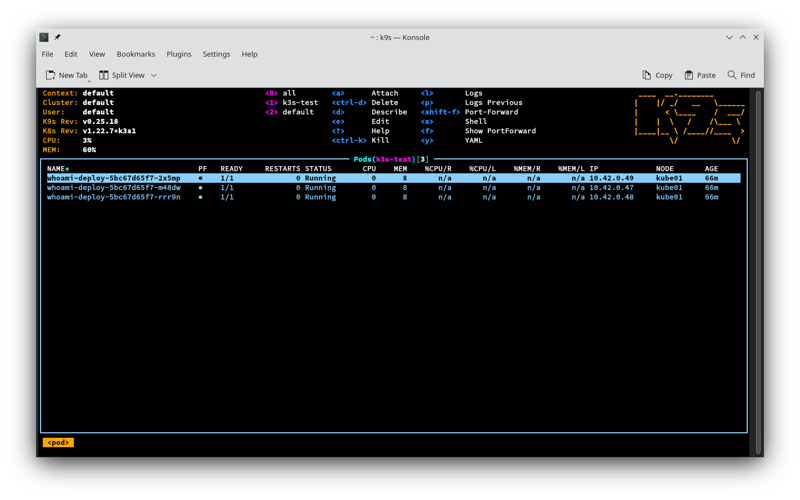
K9s
K9s is technically a terminal UI (TUI), not a GUI.
I installed K9s via the Arch repos with pacman, but K9s offers installation instructions for other operating systems on their GitHub page.
sudo pacman -S k9s
K9s reads your ~/.kube/config file, so no setup or proxy is required.
Conclusion
I’m going to stick with Lens, since that’s what we’re using at work, but I’m probably going to keep looking at other products as they are improved over time.
-Logan
